How to Sandbag a Doorway Safely & Effectively
How to sandbag a doorway safely and effectively
So, let’s take a deeper look at what we think is the best way to get sandbags placed to provide your home or business with the maximum protection possible.
Step 1: Lay a Plastic Sheet for Extra Protection

Before placing sandbags, lay a heavy-duty plastic sheet at the base of the doorway. Extend it at least three feet beyond the door on both sides and let it come up the door and walls a few inches. This adds an extra seal against water seepage and helps create a more effective flood barrier. Use duct tape or weights to keep it in place.
Common Mistake: Not securing the plastic sheet properly—if it shifts or is not completely flush with the floor, water can still seep underneath, reducing protection.
Step 2: Position the First Layer of Sandbags Correctly
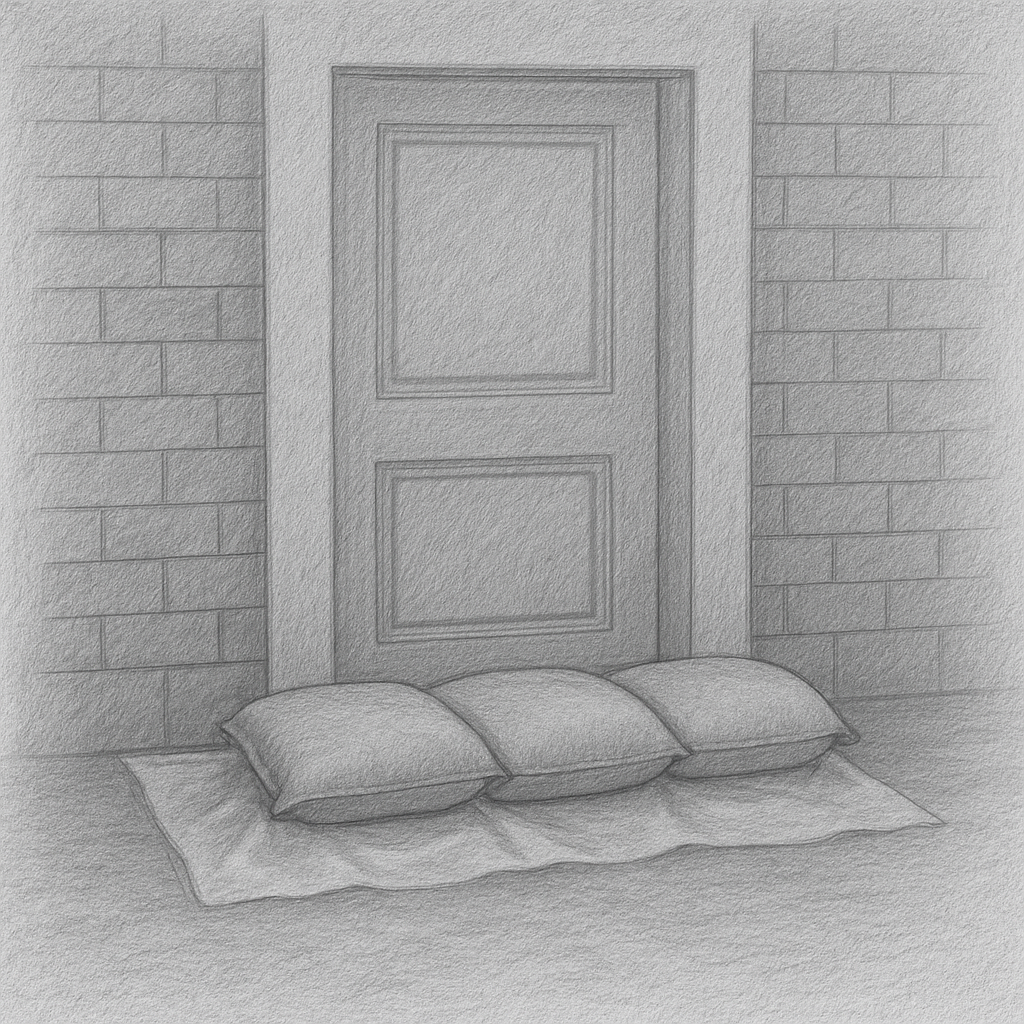
Lay sand bags in a single row along the base of the doorway, pressing them tightly together. If using a plastic sheet, place the bags on top of it to hold it down. The bags should be positioned lengthwise, with the folded end facing downstream (the side where water will come from).
Common Mistake: Overfilling sandbags—bags should be filled only halfway with sand, allowing them to mold into place and seal gaps between bags. Overfilled bags won’t stack properly and can create unwanted gaps.
Step 3: Stack Sandbags in a Pyramid Formation
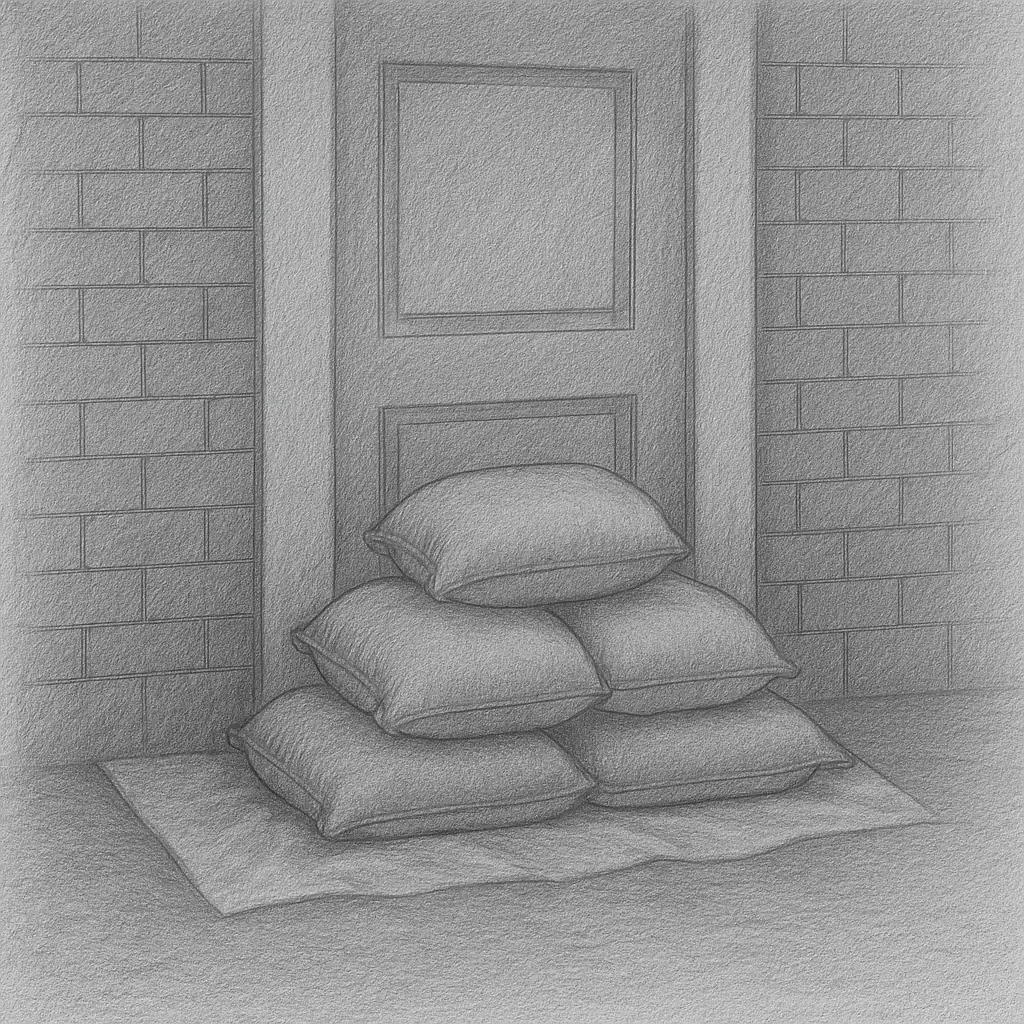
To create a strong, stable wall, stack each additional layer in a staggered pattern, like a brick wall. The best flood barriers have a wide base that tapers as it goes up. For most doorways, a three-layer high wall is usually enough.
Common Mistake: Stacking sandbags directly on top of each other in a straight pile—weakens the structure and can cause the barrier to collapse under pressure.
Step 4: Close Any Gaps Around the Edges
Water can still find its way through small openings around the sandbag wall. Use rubber strips, additional sandbags, or tape to seal gaps around the door frame, sidewalls, and floor level. If water is expected to reach higher, use plywood or a flood panel to add height.
Common Mistake: Assuming that a single row of sandbags will be enough—without a proper seal around the doorway, water will find weak points and get inside.
Step 5: Store Extra Sandbags for Future Flooding
After the flood risk lowers, remove wet sandbags carefully, as they may contain contaminated water. Store dry sandbags in a cool, dry place for future use. Sandbags typically last at least a year if kept free from moisture and protected from weather exposure.
Common Mistake: Throwing away reusable sandbags—many can be stored and reused for multiple flood seasons, saving money and time when future floods occur.
Step 6: Tamp Down the Sandbags for a Stronger Barrier
After placing each row of sandbags, firmly press down on them to ensure a tight, compact fit. This step helps the sand settle inside the bags, reducing gaps and improving water resistance. Sandbags that are not properly compacted may shift under pressure, allowing water to seep through.
When determining how to stack sandbags, just know, tamping ensures the barrier holds up against rising floodwaters.
Common Mistake: Skipping the tamping process can leave small gaps between sandbags, weakening the flood barrier. Always press down firmly after each layer to enhance stability.
Step 7: Consider Additional Flood Protection Measures
While sandbags work well as a temporary flood barrier, they are not 100% watertight. If floodwaters are expected to rise higher than the sandbags, or if your area experiences frequent flooding, consider reinforcing your doorway with additional protection.
So, how many sand bags do I need? The number depends on the expected water height and door width.
- Flood panels provide a solid, reusable barrier for doorways.
- Water-filled flood barriers act as a flexible, watertight alternative to sandbags.
- Sealants and waterproof sheeting can add an extra layer of defense to keep water out.
Common Mistake: Relying on sandbags alone without considering additional protective measures. Sandbags slow down floodwater, but they cannot always block water completely. If using homemade sandbags for flooding, make sure they are properly sealed to prevent leaks.
Step 8: Monitor and Maintain the Barrier During Flooding
Once floodwaters start rising, regularly check the sandbag barrier for weak points, leaks, or shifting bags. Water pressure and flow can displace sandbags, causing gaps to form. If needed, reinforce the barrier by adjusting the placement or adding extra sandbags.
- If sandbags start moving, reposition them immediately.
- If water is still seeping through, add more layers or use additional sealants.
- If flooding continues for an extended period, replace damaged sandbags as needed.
Common Mistake: Assuming the barrier is set and not checking for movement or water seepage. A well-maintained sandbag wall will hold up longer and offer better protection. If you need to tie a sandbag for better stability, secure the top properly to prevent sand from spilling out.
Reach out now and invest in reliable sandbags to protect your home or business from the unexpected impact of flooding.
Stock up well before an emergency
Too late to get sandbags?
If sandbags are unavailable before a flood, you can still create less effective but temporary flood barriers using household materials. While these DIY methods won’t offer the same level of protection as sandbags, they can help reduce water intrusion in an emergency.
Below is a ranked list of DIY alternatives based on effectiveness. Learn more about DIY alternatives to sandbags for flooding to find the best emergency solution for your situation.
| Alternative | Effectiveness | Pros | Cons |
|---|---|---|---|
| Plywood & Plastic Sealant | High | Blocks water effectively, reusable | Requires installation, tools, and time |
| Plastic Tube Barriers | Moderate | Holds back large amounts of water | Expensive, must be secured properly |
| Water-Filled Trash Bags | Moderate | Easily available materials | Prone to leaks, not as strong as sandbags |
| Trash Bags with Soil/Kitty Litter | Low | Cheap emergency fix | Not as durable, may break under pressure |
| Inflatable Flood Barriers | High | Reusable, quick to deploy | Expensive, requires storage space |
| Wooden Boards & Caulk | Moderate | Provides a rigid seal | Requires precise installation, not portable |
| Concrete Blocks & Tarps | Moderate | Heavy and stable barrier | Difficult to move, water may seep through gaps |
Step 1: Use Plywood and Plastic Sealant for a Strong Barrier
If you have time and tools, plywood panels sealed with plastic sheeting and caulk can create a sturdy flood barrier for doors and vents. This method works best for preventing water intrusion at entry points and is reusable for future storms.
Common Mistake: Not sealing the edges properly—gaps in the sealant or poorly cut boards can allow water to seep through. Always double-check your seal before flooding starts.
Step 2: Secure Plastic Tube Barriers for Larger Flooding Risks
Plastic tube barriers are designed to hold back floodwater by filling them with water to create a weighted barrier. These are useful for doorways, garages, and driveways, especially if a large amount of water is expected.
Common Mistake: Not securing the tubes properly—if they are not anchored correctly, they can shift or tip over, allowing water to flow through.
Step 3: Use Water-Filled Trash Bags in a Pinch
If you don’t have sandbags, water-filled trash bags can be used to create a temporary flood barrier. Simply fill heavy-duty trash bags with water, tie them shut, and stack them in a staggered pattern like sandbags.
Common Mistake: Using thin or low-quality bags—these can easily rip or leak, reducing their effectiveness. Use contractor-grade trash bags to prevent breaks.
Step 4: Create a Quick Fix with Trash Bags and Soil/Kitty Litter
In an emergency, filling trash bags with soil, dirt, or kitty litter can help create a low-cost, makeshift flood barrier. While this is not as effective as traditional sandbags, it can help slow down water intrusion in low-risk areas.
Common Mistake: Overfilling bags—they should only be filled halfway to allow for proper stacking and sealing.
Prepare before the next flood – Contact us and stock up on high-quality sandbags now to ensure your home or business is protected when rising water threatens.
Bonus: Sandbagging Air Vents, Sinks, and Toilets
Most flood guides focus on doors and windows, but water can also backflow through air vents, sinks, and even toilets, causing damage inside your home. Placing a weighted sandbag over floor drains, vents, and plumbing openings can help block rising water and prevent sewage backup during heavy flooding.
For added protection, use plastic sheeting under sandbags to create a tighter seal and keep floodwater from entering through unexpected points. These extra steps can reduce interior water damage and contamination in an emergency.
Key takeaways on how to sandbag a doorway
- Prepare early: Waiting until a flood is imminent can result in sandbag shortages. Stock up ahead of time to ensure you have what you need.
- Use a plastic sheet: Placing a plastic barrier under sandbags helps seal gaps and reduce seepage.
- Stack in a pyramid formation: A wide base with staggered layers creates a stronger, more stable flood barrier.
- Tamp down each layer: Pressing down on sandbags improves the seal and helps prevent shifting under pressure.
- Check for leaks and reinforce: Monitor the barrier during flooding and add extra sandbags or sealants if needed.
Be prepared before the next flood hits—order high-quality, UV-resistant sandbags from Palmetto Industries today to keep your home and property protected.
How to Sandbag a Doorway FAQ

By Purvis King
Bringing over 35 years of textile and flexible packaging experience to Palmetto, Mr. King earned his Bachelor’s Degree in Mathematics and Physics from Augusta College in 1985. He is skilled in all aspects of manufacturing and engineering of flexible, woven polypropylene plastics. In his free time Mr. King enjoys playing disc golf with his two sons and enjoying the outdoors.